I didn't have time today to get the vintage pattern post together today, but I hope you might like this instead.
I want to tell you about this great nail polish I found!
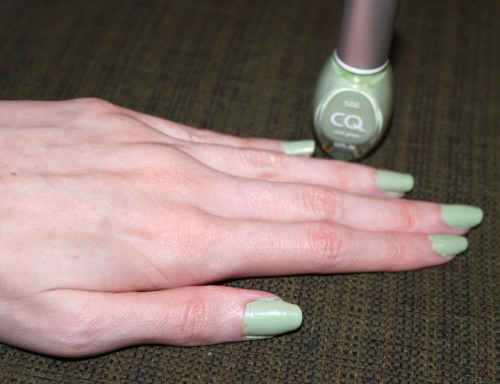
I've had difficultly in the past finding nail polish that did not chip on the second day. I finally found this brand in Rite Aid that just happened to have the shade of mint I was looking for. It was only $3, so I thought I'd try it. the brand is called CQ. It's amazing! The color looks fabulous and it hardly chips! I've had it on for about 4 days now and there's only very slight chipping on my right hand (since I use it more). I highly recommend CQ nail polish!
And now, here is a fairy kei tutorial.
I'm sure you've seen the 'remake' tees and hoodies from Spank and Nile Perch. Like these:
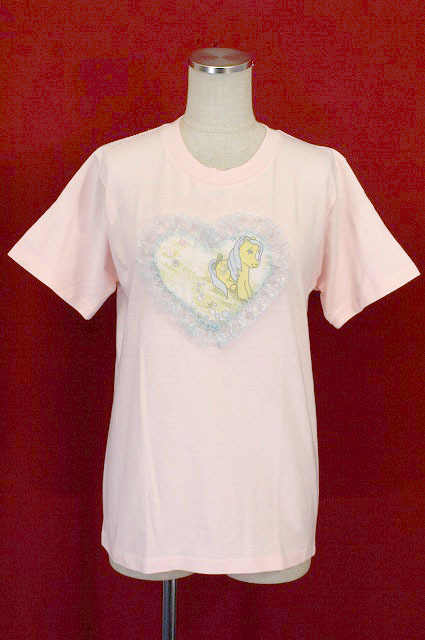
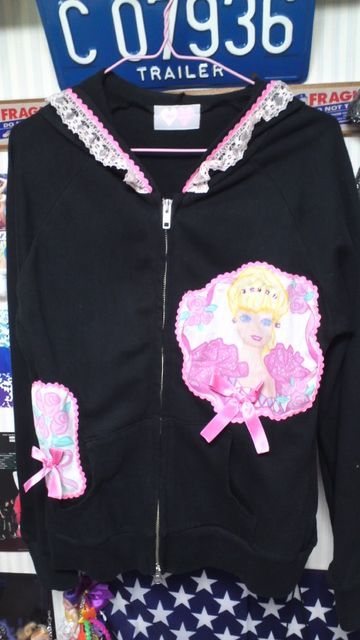
(both by Nile Perch)
They are adorable, but a little pricey, right? Especially with shopping service fees! Well, they are just as easy to make as they look! :)
There are two ways to go about it. This first way will look closest to the real Nile Perch stuff.
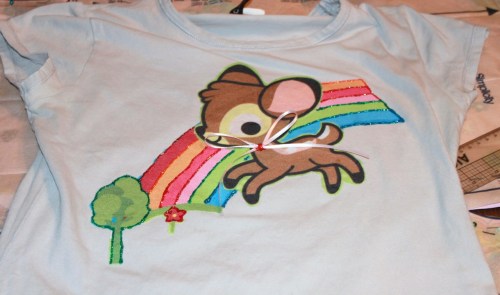
This is my remake shirt.
1. Get a plain shirt. I actually prefer thrifting them than getting one from the craft stores. The fit, cotton quality, colors, and price usually suit my tastes better. Plus, the money goes to charity!
2. Get something with a cute picture to cut up! The shirts at Nile Perch are made from cutting up character sheets, but you can use kids' tees too. For my Bambi shirt, I used a toddler nightgown!
3. Buy a product called 'Heat and Bond' (I don't know what it's called in other countries or if there are other brands) from the fabric store. It basically turns any fabric into an iron-on patch. Follow the directions on the package 100%! My mom and I made a huge mess on the iron by not paying attention ;_;
4. Iron your new patch on the shirt.
5. Decorate! Go crazy! Fabric paint, bows, buttons, lace! Everything you can find! lol Don't forget, in fairy kei, it's more typical to use cheaper lace, unlike in lolita :)
6. Wear it and feel totally outrageous.
Note: I found the Heat and Bond backing made the patch impossible to sew through. You will have to glue on the embellishments. You will probably want fabric glue.
Here is the other way to make one. This way is good if you can't find something cute to cut up for whatever reason.

That's my art work :)
1. Repeat step one from above, but make sure the tee is a light color!
2. Buy printable transfer paper from the craft OR office store. The only brand that I've found works is Avery. It's worth the extra cost, because it does not crack off in the wash! It also gives the best quality and is easiest to work with.
3. Choose an image from the internet from your favorite 80s series OR use you own art work!
4. Follow all directions on the package iron that sucker on!
5. Decorate as suggested above.
Note: The transfers are easy to sew through!
Have fun! I'd love if you show me what you make!
those t-shirts were so cute! and I loved the color of the nail polish :D
ReplyDeletethank you a lot for the tutorial!!
ReplyDeleteit's really helpful
I was always curious how to add a printed fabric without sewing it on!