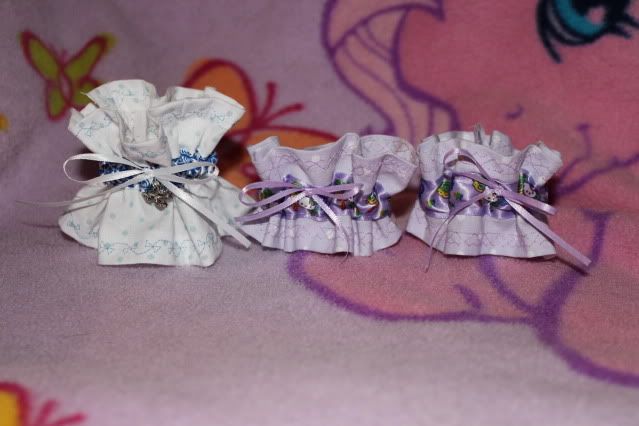
You need:
Fabric
Elastic
Ribbon
Charms
1. Cut a strip of fabric a foot and 3 inches long. I hesitate to tell you how wide because you might have a different preference. The white and blue cuff was cut 3 in. wide, so use that as a guide line.
2. Hem the long edges. My machines has the decorative stitch function so I recomend that if you have it.
3. Choose a wide ribbon that compliments your cuff. Cut it the same length as your cuff and pin it to the center. Sew it along both edges of the ribbon (NOT down the center of the ribbon!)
4. Grab some elastic and pull it through in between the ribbon and cuff (I'm assuming you know how to do this using safety pins. I can try to explain if you ask)
5. Gather the elastic to fit your wrist. The will make your cuff bunch up and look frilly.
6. Sew the two short edges together, right sides facing. Take care to keep you elastic secured so it does not dissapear into the cuff!
7. Turn cuff right side out.
8. Choose ribbon to make a bow and a charm and hand sew them on. You're done!
There are other wrist cuff tutorials online so if this dose not work for you feel free to use another one. If you have any questions, leave a comment!
I'm not sure if you know, but I also have a craft blog . If you look a few pages back, I have a tutorial for making lolita/dolly kei/punk ties!
Awesome! Thanks so much!
ReplyDeleteSo adroable!!! :O I really liked this tutorial, thank you very much!
ReplyDeleteSo glad you guys liked it! :D <3
ReplyDelete